
Built Together.
Your Offroad Partner.
Your Offroad Partner.
Your Offroad Partner.
Your Offroad Partner.

Daily-driven Toyota 4Runner lift-kit selection is matching suspension height, spring support, and shock damping to your commute and weekend trails. This 2026 guide explains how to choose a 4Runner lift kit without sacrificing everyday comfort or treating extra height as a substitute for proper fitment.
Your 4Runner has to handle pavement joints, highway travel, passengers, and trail obstacles with the same suspension. A setup chosen only for parked stance leaves the most important buying questions unanswered: how it carries your normal load, controls movement, and clears tires during use.
Iron Ridge Offroad is a shopping option for truck and SUV owners seeking aftermarket suspension parts. Start with your vehicle details before browsing Iron Ridge Offroad, then evaluate individual components against their application information.
A suspension lift changes ride height; it does not automatically improve damping, articulation, or traction. For your 2026 purchase, separate the problem you need to solve from the appearance you want.
Your commute also belongs in the decision. Garage access, passenger entry, steering behavior, and unloaded ride comfort remain relevant even when the build includes weekend trail use.
Start with your registration, vehicle identification information, and a physical inspection. Record the model year, generation, trim, drivetrain, factory suspension equipment, and any existing modifications. Do not assume that a kit advertised for a 4Runner fits every version.
If your vehicle has KDSS, X-REAS, or another factory suspension system, require application instructions that address that equipment explicitly. Treat a sixth-generation 4Runner as a separate application from a fifth-generation vehicle, not as an updated trim.
Take baseline measurements before ordering. Use level ground, consistent tire pressure, and the same reference points so you can compare the vehicle before and after installation. Your 2026 planning sheet should distinguish current condition from the result you want.
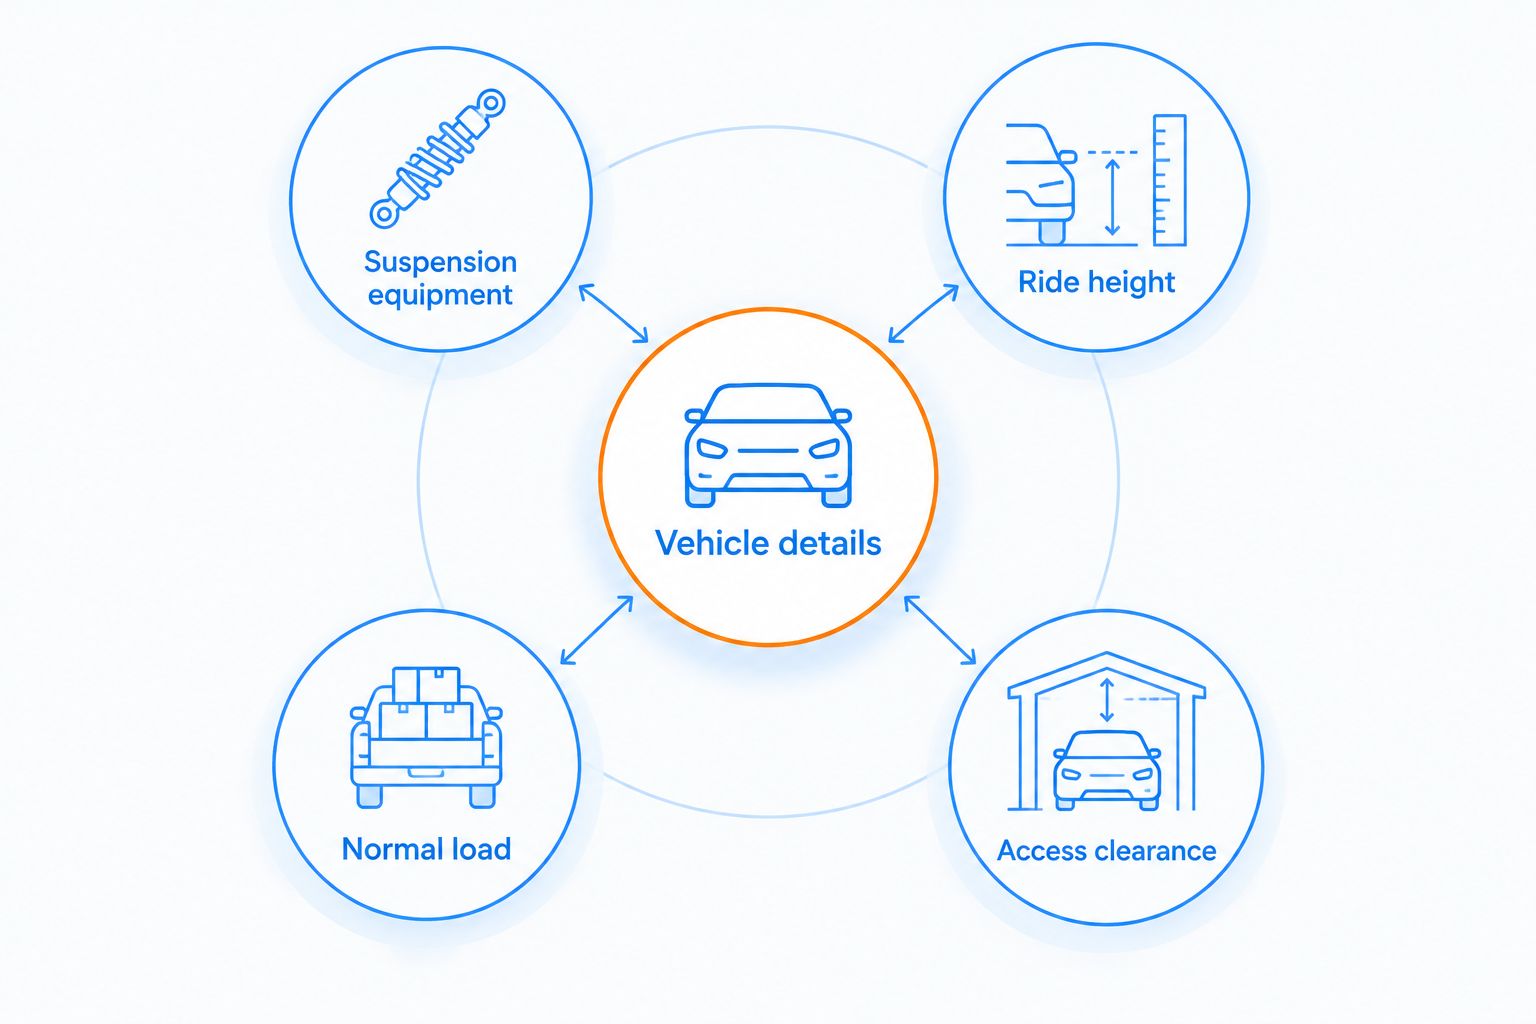
Write down what limits the vehicle now. Repeated underbody contact, poor control after bumps, tire interference, and rear sag are different problems. A taller front stance does not address all of them.
Inspect worn components before treating a lift as the repair. Damaged shocks, deteriorated bushings, and incorrect tire pressures need attention regardless of your eventual suspension choice. Diagnose steering vibration or pulling rather than expecting replacement lift parts to erase it.
Choose the smallest change that solves a documented problem. If the current 4Runner handles your routes without clearance trouble, maintaining its suspension is a valid choice. A lift is not a prerequisite for using an SUV on an appropriate trail.
Compare the design of the proposed system, not just its advertised height. A spacer, a matched spring-and-shock package, and an adjustable coilover system change different parts of the suspension. None earns a comfort claim simply because it raises the vehicle.
A spacer-based approach changes mounting or spring position according to its design. It does not replace worn dampers or provide a new damping calibration. A matched spring-and-shock package addresses more components, but its spring selection still needs to suit the load.
Use Iron Ridge Offroad suspension listings to identify application-specific components, then check the manufacturer's installation requirements. The Whiteline Toyota 4Runner front upper control arms are a separate component example—not permission to assume compatibility with your vehicle or chosen lift.
Spring support and damping perform different jobs. Springs support the vehicle and its load; dampers control suspension movement. A higher spring rate is not automatically a better commuting choice, and an adjustable shock does not correct an unsuitable spring.
Separate permanent weight from occasional cargo. A permanently installed bumper or drawer system belongs in the baseline. Camping gear carried on selected weekends belongs in a second load condition, not automatically in an always-heavy spring recommendation.
For your 2026 shortlist, compare the manufacturer's intended load category with your real setup. Ask how the proposed suspension addresses unloaded commuting and loaded travel. Do not accept a claim of better comfort without knowing which spring and damper configuration it describes.
A 4Runner lift kit does not guarantee clearance for a particular tire. Tire dimensions, wheel width, offset, steering position, and suspension movement all affect interference. A parked photo cannot establish clearance throughout the operating range.
Specify the exact tire and wheel combination before accepting a fitment recommendation. Then follow the lift manufacturer's requirements for alignment and supporting parts. An upper control arm is not universally required or universally unnecessary; the answer belongs to the specific application and suspension design.
Ask your installer to evaluate clearance through the checks specified for the system. Include brake hoses, ABS wiring, sway-bar components, and shock travel where the instructions require inspection. Do not use extra height to avoid investigating an interference problem.
Download the instructions before you order. Use them to identify tools, torque procedures, replacement hardware, and checks that exceed your equipment or experience. Suspension work involves loaded components; use a qualified installer when you cannot perform the procedure safely.
Book the required alignment and establish a baseline after installation. Record ride height, steering behavior, rubbing, noises, and passenger feedback before changing settings. A short drive around the block does not represent every commuting or trail condition.
Change 1 adjustable setting at a time, within the manufacturer's guidance, and record the result. This makes an adjustment traceable instead of turning the suspension into a collection of unexplained settings. Follow the specified inspection and fastener-check schedule rather than inventing your own interval.
For a 2026 buying decision, compare what each approach changes and what it leaves untouched. These are selection categories, not interchangeable fitment recommendations. Every option still needs verification against your exact 4Runner.
| Option | Best for | Main advantage | Key limitation |
|---|---|---|---|
| Maintain factory-height suspension | Commuters whose trails do not require added ride height | Avoids a height change and addresses existing wear | Does not provide additional suspension lift |
| Application-specific spacer lift | Owners seeking a height change while retaining specified existing components | Changes height without necessarily replacing the complete suspension | Does not renew worn shocks or establish better damping |
| Matched lift springs and shocks | Owners addressing lift, spring support, and damping together | Lets you select a coordinated suspension package | Incorrect load selection still compromises suitability |
| Adjustable coilover-based system | Owners prepared to configure and maintain an adjustable setup | Offers the adjustments specified by that particular system | Adjustment range and maintenance requirements vary by product |
Best for most buying decisions: start with the least complicated option that addresses your actual limitation. That is a selection rule, not a claim that one suspension design fits every commuter.
A complete package also needs scrutiny. Check whether rear components, hardware, and required supporting parts are included; the word complete does not establish the contents. Compare the actual parts lists instead of assuming equivalent scope.
Iron Ridge Offroad sells aftermarket parts across multiple vehicle makes. Keep the application filter strict: a Toyota listing, a similar-looking component, or another owner's build does not establish 4Runner compatibility.
A level parked appearance does not describe how the vehicle sits with passengers and travel gear. Evaluate your normal load and weekend load before selecting front-to-rear height changes. Do not add spring support merely because another build carries heavier permanent accessories.
Lift height is only one part of clearance. Wheel specifications and tire shape still matter, and suspension movement changes the relationship between the tire and body. Require a recommendation tied to your exact combination rather than a generic maximum tire claim.
A forum build is useful for generating questions, not approving fitment. Differences in generation, factory suspension equipment, and existing modifications can change the required parts. Match manufacturer application information before treating another owner's parts list as relevant.
More adjustment creates more settings to understand. If you want a simple commuting setup, prioritize appropriate spring support, damping, and service needs. Choose adjustability because you have a reason to change settings—not because the specification list is longer.
What's the best 4Runner lift kit for commuting and weekend trails?
The best 4Runner lift kit matches your exact vehicle, normal load, and documented clearance needs. Compare spring support and damping before choosing height, and retain factory height when a lift does not solve a real problem.
Will a lift kit make my 4Runner ride more comfortably?
A lift kit does not automatically improve ride comfort. Spring selection, damping, tire setup, component condition, and installation all affect the result; a spacer alone does not replace worn shocks.
Do I need upper control arms with a 4Runner lift?
Upper control arm requirements depend on the specific vehicle and lift system. Follow the lift manufacturer's instructions and alignment requirements rather than applying a universal height rule.
Can I use the same lift kit on different 4Runner generations?
Use a lift kit only when the manufacturer explicitly lists your exact application. Do not transfer a fitment recommendation between generations, trims, or factory suspension configurations without that confirmation.
Will a 4Runner lift kit stop my tires from rubbing?
A lift kit does not guarantee that tire rubbing stops. Verify the exact tire, wheel width, offset, steering clearance, and suspension-movement clearance before choosing the suspension.
Should I choose heavier springs for occasional camping trips?
Choose springs using the manufacturer's load guidance and your actual everyday and travel loads. Occasional camping cargo does not automatically justify a spring intended for permanently installed weight.
Should I get an alignment after installing a lift kit?
Plan the alignment work required by your lift manufacturer after installation. Confirm that requirement before ordering, and investigate pulling, steering changes, or uneven tire wear rather than treating them as normal lift behavior.
Write down what you intend to keep unchanged before choosing what to upgrade. Quiet commuting, predictable steering, garage access, and manageable passenger entry are useful requirements—not obstacles to a trail build.
For your 2026 parts discussion with Iron Ridge Offroad, bring the vehicle details, suspension equipment, wheel specifications, measurements, and load notes together. That information makes a suspension recommendation specific to your 4Runner instead of a guess based on lift height.