
Built Together.
Your Offroad Partner.
Your Offroad Partner.
Your Offroad Partner.
Your Offroad Partner.

Jeep Wrangler trail-use bumper selection is the process of matching a front bumper to your Wrangler’s generation, recovery equipment, and terrain so you gain useful protection without compromising daily driving. This 2026 guide to Jeep Wrangler bumpers puts fitment, tire clearance, mounting, and added weight ahead of appearance.
Your daily-driven Wrangler needs a bumper that works in traffic, parking spaces, and trail obstacles. Extra coverage, shorter wings, and recovery hardware solve different problems. Choose the problem you need to solve before choosing the bumper shape.
A front bumper also changes the equipment carried ahead of the front axle. Evaluate bumper, winch, mounting hardware, and accessories together—not as separate purchases with unrelated weight figures. Your suspension assessment belongs in the same decision; the Jeep Wrangler lift kit guide explains the daily-driver side of that choice.
For a 2026 purchase, use the manufacturer’s current application information and installation instructions. A listing that says Wrangler without identifying your application is not enough to approve fitment.
Start with your vehicle information and inspect the existing front end. Record the model year, generation, trim, factory bumper configuration, and modifications that affect the installation. JK and JL are distinct applications; a familiar bumper shape does not establish compatibility.
Build 1 fitment sheet before comparing options. Include the manufacturer’s part number for every candidate so you can check the actual instructions rather than relying on a broad listing title. Treat conflicting application details as a reason to stop, not permission to choose the interpretation you prefer.
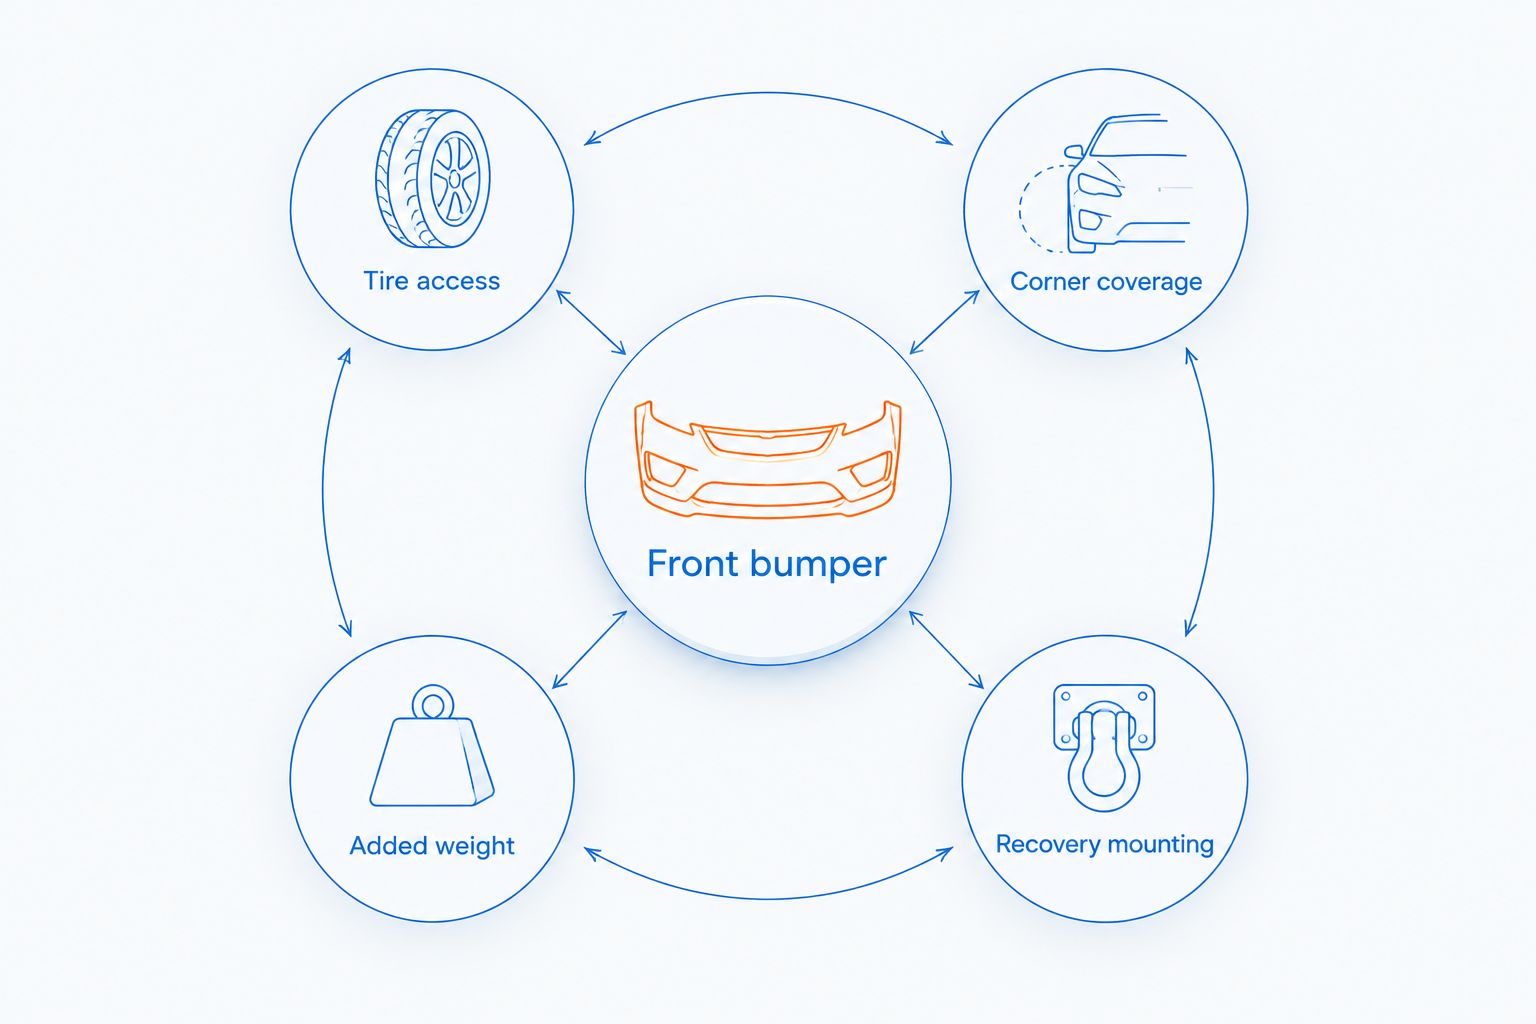
Choose width by considering tire access and the front corners you want covered. Stubby designs leave more of the tire area exposed, while full-width designs extend farther toward the fenders. Mid-width designs sit between those approaches, but the labels do not replace actual dimensions.
For narrow, technical terrain, inspect where the bumper wings sit relative to the tires. For daily driving and less technical trails, retaining outer-corner coverage is a valid priority. Neither choice guarantees better crash performance, and bumper width alone does not establish obstacle clearance.
Read the installation instructions before treating any tab, loop, or opening as a recovery point. A usable recovery system depends on its documented purpose, attachment hardware, supporting structure, and compatible connectors. A visible shackle tab is not proof that every recovery method is permitted.
At Iron Ridge Offroad, aftermarket off-road parts span suspension, lighting, armor, and recovery gear. When comparing those categories for your Wrangler, keep the bumper’s installation requirements beside the recovery equipment instructions; a retailer’s category label does not replace either document.
A winch-ready description is the beginning of the check, not the result. Compare the bumper’s mounting pattern, permitted winch dimensions, fairlead arrangement, and access requirements with the exact winch you intend to use. Confirm whether the winch plate is included or separate.
Packaging matters after installation, too. You need the access specified for operating controls, connecting wiring, inspecting the rope, and servicing hardware. A recessed layout hides equipment, but restricted access is a practical disadvantage if it complicates those tasks.
Compare published weights for the complete proposed installation, then subtract the equipment being removed. Material alone is not a useful weight calculation: bumper construction, reinforcement, winch plates, and accessories all affect the result. If the documentation omits a component’s weight, get that figure before finalizing the build.
Steel and aluminum designs both require attention to construction, finish, and intended use. Do not assign impact strength from material names alone. For a 2026 daily-driver build, favor a documented setup that meets your needs without adding equipment solely because the mounting holes exist.
A shorter bumper does not automatically solve tire interference. Clearance depends on bumper position, tire dimensions, wheel offset, steering angle, and suspension movement. Inspect the area at normal ride height, then have articulation and compression clearance checked safely by a qualified installer.
Take 3 reference photos: a straight-on front view and a side view from each front corner. Check 2 steering extremes, full left and full right, while recognizing that parked clearance does not prove clearance under suspension compression. Use those observations to ask specific fitment questions.
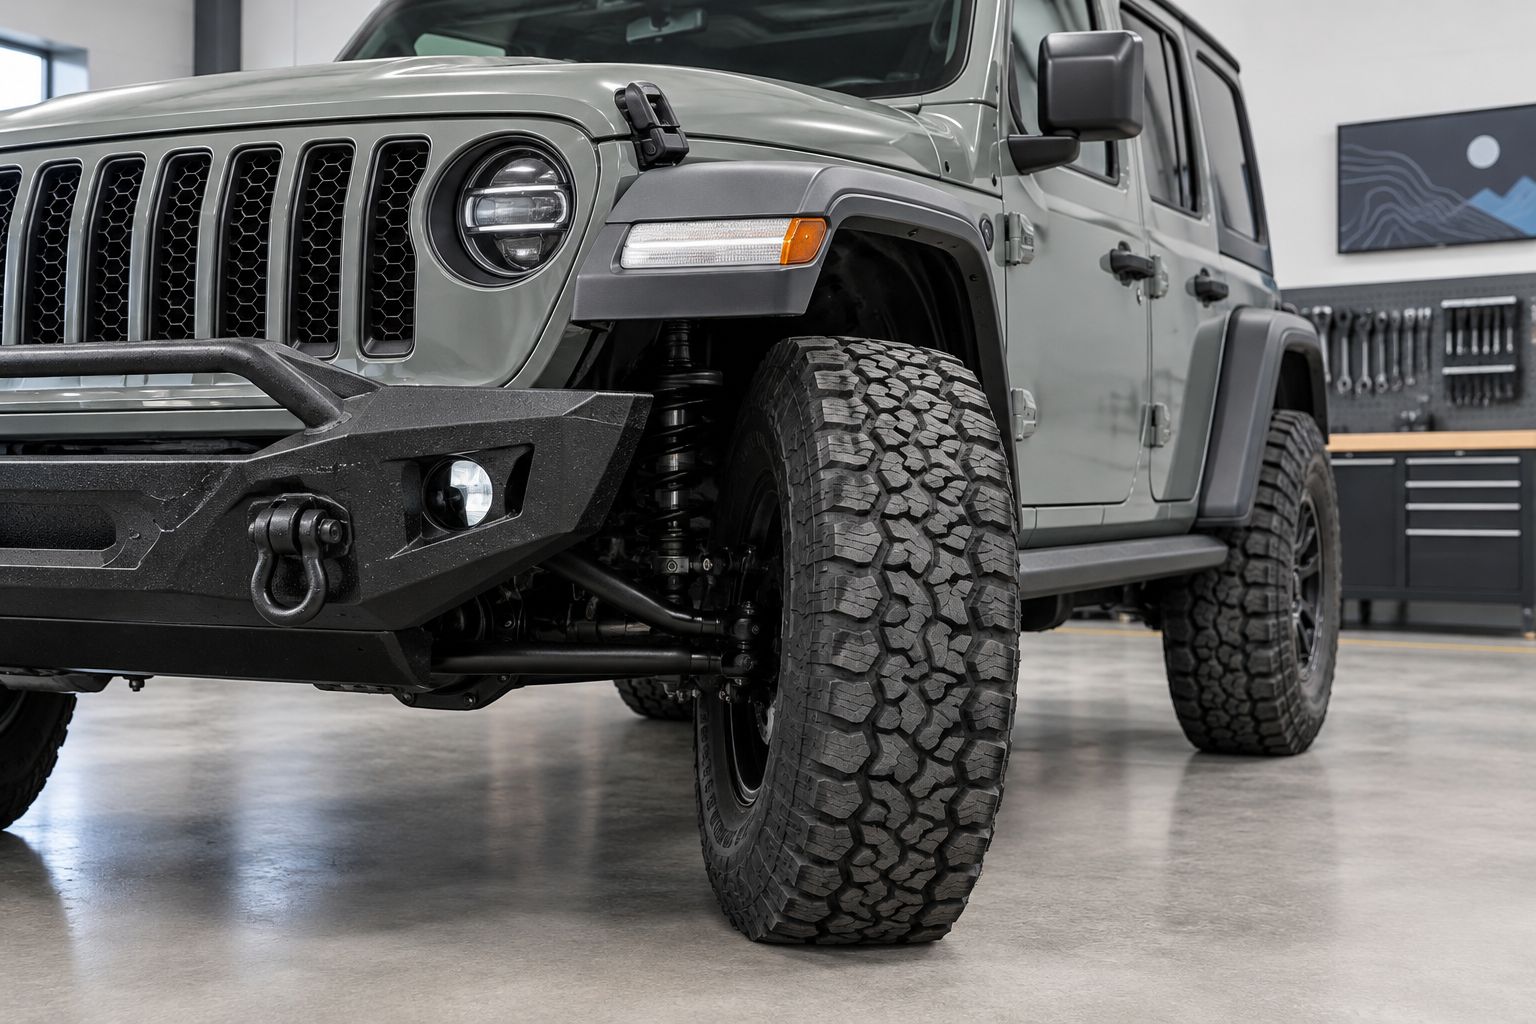
Do not work under a vehicle supported only by a jack or position yourself near moving tires during a clearance check. Measurements and manufacturer drawings are more useful than guessing from a photograph of another owner’s build.
Decide which existing equipment must remain before placing the order. Factory fog lights, aftermarket lamps, wiring connectors, skid plates, and trim pieces each need a compatibility check. A fog-light opening does not establish that your current lamp housing or bracket fits.
For your 2026 installation plan, separate bumper assembly from wiring, winch installation, and any required cutting or relocation. Follow the specified fastener torques and inspection schedule rather than applying a generic value. After installation, check operation and clearance before returning to the trail.
These are design approaches, not fitment recommendations for a particular generation or trim. Best for identifies the use case each option serves; the limitation explains what you give up. Check the exact bumper’s documentation before selecting any approach.
| Option | Best for | Practical advantage | Key limitation |
|---|---|---|---|
| Retain the factory bumper | Daily drivers whose current setup meets their trail needs | Avoids changing the existing bumper installation | Does not resolve a specific clearance or equipment-mounting limitation |
| Stubby front bumper | Owners prioritizing tire access on technical trails | Shorter wings leave more of the tire area exposed | Less outer-corner coverage |
| Mid-width front bumper | Owners balancing tire access and corner coverage | Offers an intermediate coverage layout | The label does not define consistent dimensions |
| Full-width front bumper | Owners prioritizing coverage toward the fenders | Extends coverage farther across the front end | Wings require careful tire-clearance checks |
Winch mounting, material, recovery points, and lighting accommodation are separate selection criteria. A stubby bumper is not automatically winch-compatible, and a full-width bumper is not automatically heavy. Compare the documented configuration rather than stacking assumptions onto the design label.
A tire-size claim without wheel specifications, suspension details, and application restrictions is incomplete. Match the whole configuration. Your tire’s relationship to the bumper changes with steering and suspension movement, not just its nominal diameter.
A bumper does not establish the suitability of the winch, connectors, or recovery technique attached to it. Check every component’s intended use and instructions. Keep people clear of loaded recovery equipment and use training appropriate to the equipment and situation.
A bumper-only comparison becomes misleading once you add a winch, lights, brackets, and other accessories. Evaluate the finished configuration before choosing suspension changes. Springs and shocks serve different functions; adding a shock alone is not a spring-rate correction.
Wrangler, Gladiator, and different Wrangler generations are not interchangeable application labels. Even a visually similar lamp or bracket requires verification. Use part numbers and manufacturer application details instead of borrowing fitment conclusions from another Jeep.
Cutting requirements, separate brackets, and inaccessible fasteners are selection issues—not surprises to accept after delivery. Iron Ridge Offroad bumper-shopping decisions should follow the same rule as any aftermarket parts purchase: verify the documented application before committing to the part.
What’s the best front bumper for a daily-driven Jeep Wrangler?
The best front bumper matches your exact Wrangler application and solves a defined clearance, protection, or equipment-mounting need. Keep the factory bumper if it already meets those needs; an aftermarket bumper is not automatically an improvement for your use.
Is a stubby bumper better than a full-width bumper on trails?
A stubby bumper favors tire access, while a full-width bumper favors outer-corner coverage. Compare actual dimensions, wing position, and tire clearance before choosing between them.
Will a Wrangler JK front bumper fit a JL?
Do not assume a JK front bumper fits a JL. Use the exact bumper part number and manufacturer application information to confirm mounting, hardware, lighting, and skid-plate requirements.
Can I install a winch on any aftermarket Wrangler bumper?
No, a bumper needs documented compatibility with the intended winch installation. Check mounting dimensions, winch plate requirements, fairlead arrangement, equipment access, and wiring instructions.
Do I need different springs after installing a front bumper?
A spring change depends on the completed installation’s added weight and the suitability of your existing suspension. Review the bumper-and-winch combination with the suspension manufacturer rather than choosing springs from bumper material alone.
Can I reuse my factory fog lights in a new bumper?
Reuse factory fog lights only when the bumper documentation confirms compatibility with your lamp housings and required brackets. Verify wiring connections and adjustment access separately.
How should I compare Jeep Wrangler bumpers in 2026?
Compare Jeep Wrangler bumpers using current manufacturer application information, installation instructions, dimensions, and component weights. Iron Ridge Offroad aftermarket parts shoppers should keep those checks tied to the exact vehicle and part number.
Check whether you can service the equipment after the bumper is installed. A package that fits but blocks routine winch inspection, lighting adjustment, or mounting-bolt access creates an avoidable maintenance problem. Make access part of your final selection—not an installation-day discovery.